Landscape Part Two
This is where we left off with the landscape. Look at the sky and the lake, they look like two different fabrics, don't they? But, in fact, they are the same fabric. The sky however is the back side of the fabric whereas the lake is the front side. I did not have a light enough piece of fabric for the sky so I simply used the back. Again, remember that there is no right nor wrong way to create a fabric landscape.
There were three ways to adhere the fabric to the background. You can use just one or all three. It's up to you.
1. Apply fabric adhesive to the back of the fabric and iron it together. I suggest using the lightest weight fabric adhesive. Be sure to follow the directions. Also, apply the adhesive to the fabric before cutting. It is much easier than trying to match the adhesive piece to the fabric piece.
2. Use regular glue and a brush to adhere pieces together.
3. Sew it together which has even more options: Sew it by hand or use the sewing machine. You also have the choice to either leave the edge raw or turn it under.
I chose to use the sewing machine and leave the edge unturned or 'raw'.
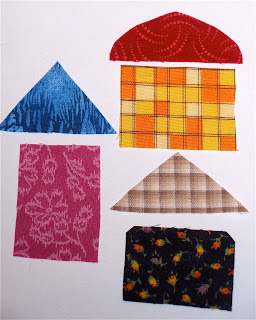
Next we need to add the larger pieces such as the houses...
Simply cut out the shapes freehand from the fabric you want for the houses and place them on the landscape.
Next add trees. Use a variety of green colors for the leaves and a dark fabric for the trunk. As with the houses, try cutting freehand.
Place the trees on the landscape. Play around with different placements until the scene is pleasing to you.
Attach these items to the background with your choice of technique.
I hope you are having fun creating your own landscape...
Thanks for visiting...see you tomorrow.


